Before swinging hammers or tearing down cabinets, the key to a successful kitchen demolition begins with careful planning. Start by evaluating the scope of the project and identifying which elements of your kitchen will be removed. Cabinets, countertops, appliances, and flooring all require different approaches and tools. Mapping out each step helps prevent unnecessary damage to walls, plumbing, or electrical systems. Clearing out personal items and covering surfaces that remain ensures your space stays organized during the upheaval. Proper planning also gives you the chance to acquire the right safety gear, such as gloves, goggles, and dust masks, which are essential for protecting yourself from sharp debris, dust, and potential hazards.
Understanding your kitchen layout is vital before beginning demolition. Knowing where utilities like water, gas, and electricity are located allows you to shut them off safely, preventing accidents. In addition, considering disposal methods ahead of time ensures that debris won’t pile up and create a hazard. Professional demolition often involves sorting materials for recycling, donation, or junk removal, which can save time and money in the long run. Taking the time to plan meticulously sets the stage for a smoother, more efficient demolition process, reducing stress and keeping the project on track from start to finish.
Safely Removing Cabinets and Countertops
Removing cabinets and countertops requires precision and care to avoid damaging the walls or floors underneath. Start by emptying all cabinets completely and disconnecting any plumbing fixtures or appliances attached. Using a screwdriver or drill, carefully unscrew the cabinet doors and frames, working from the top down. Countertops, often heavy and glued in place, may require a pry bar or even specialized tools to detach without breaking. Attention to detail is critical because even small mistakes can create costly repairs or uneven surfaces for the new installation.
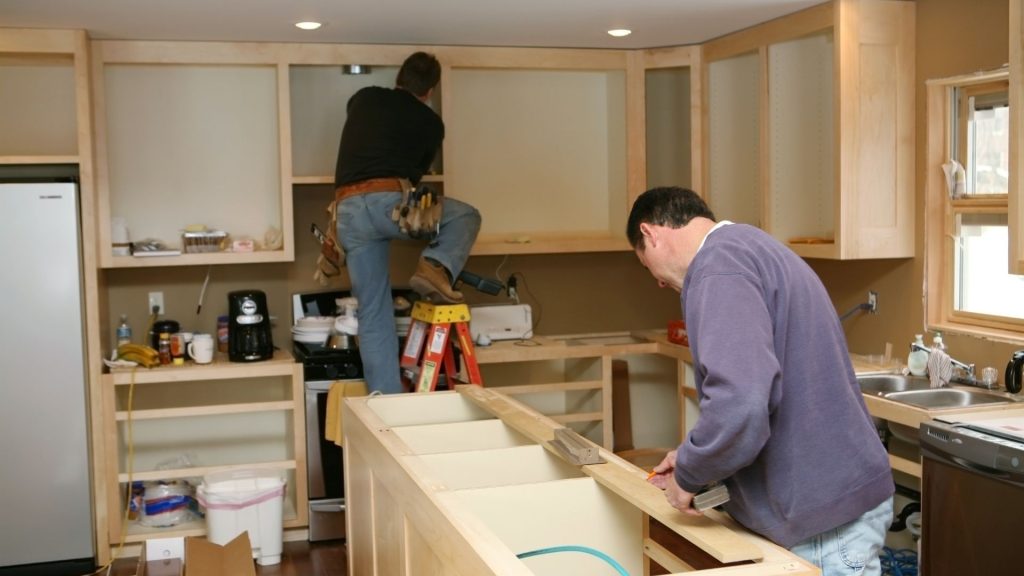
Handling cabinets and countertops safely also means considering weight distribution and how you transport them. Removing heavy sections without adequate help can lead to injury or accidental damage. Once detached, you can sort the materials for recycling, donation, or disposal. Planning a clear path for moving items outside the house prevents unnecessary chaos and ensures that debris does not block hallways or living areas. By taking a methodical, careful approach, you can preserve the integrity of your kitchen structure while removing these bulky elements efficiently.
Tearing Out Old Flooring Without Causing Damage
Kitchen floors come in many materials, from tile to laminate, hardwood, or vinyl, and each requires a distinct method for removal. Start by removing baseboards and any threshold pieces, as they often lock the flooring in place. For tile, using a chisel and hammer or a specialized floor scraper helps lift the tiles without cracking the underlying subfloor. Laminate and vinyl flooring can often be pried up in sheets, though adhesive residue may require additional scraping. Hardwood floors may need careful lifting of planks and sanding of the subfloor to prepare for new installation. Taking the time to work slowly helps preserve the foundation of your kitchen while minimizing dust and debris.
Floor demolition also demands attention to safety and cleanup. Wearing sturdy shoes and protective eyewear prevents injury from flying fragments or sharp edges. Clearing debris in manageable batches rather than all at once reduces the risk of accidents and keeps your workspace navigable. Proper disposal of flooring materials, especially those with adhesives or treated wood, may require special handling or recycling. By approaching floor removal methodically, you maintain both the safety of your home and the efficiency of your kitchen demolition project.
Disconnecting and Removing Appliances
Removing kitchen appliances like ovens, dishwashers, and refrigerators requires careful preparation to prevent damage or leaks. Begin by turning off the power and water supply to the units, then carefully detach connections such as gas lines or electrical cords. Appliances should be emptied completely to reduce weight and prevent spills during transport. Some appliances may need two people to maneuver safely, especially larger or heavier units. Proper lifting techniques and equipment such as dollies or straps can prevent injury and make the process smoother.
Appliance removal also creates opportunities for recycling or donation. Many appliances contain metals and electronics that can be recycled responsibly, while still-functional units can benefit someone else. Handling each appliance carefully prevents scratches, dents, or other damage that could make resale or donation difficult. Planning a path from the kitchen to the outside ensures that heavy items do not get stuck in narrow doorways or hallways. Thoughtful appliance removal simplifies the overall demolition process while maintaining safety and efficiency.
Handling Plumbing and Electrical Elements
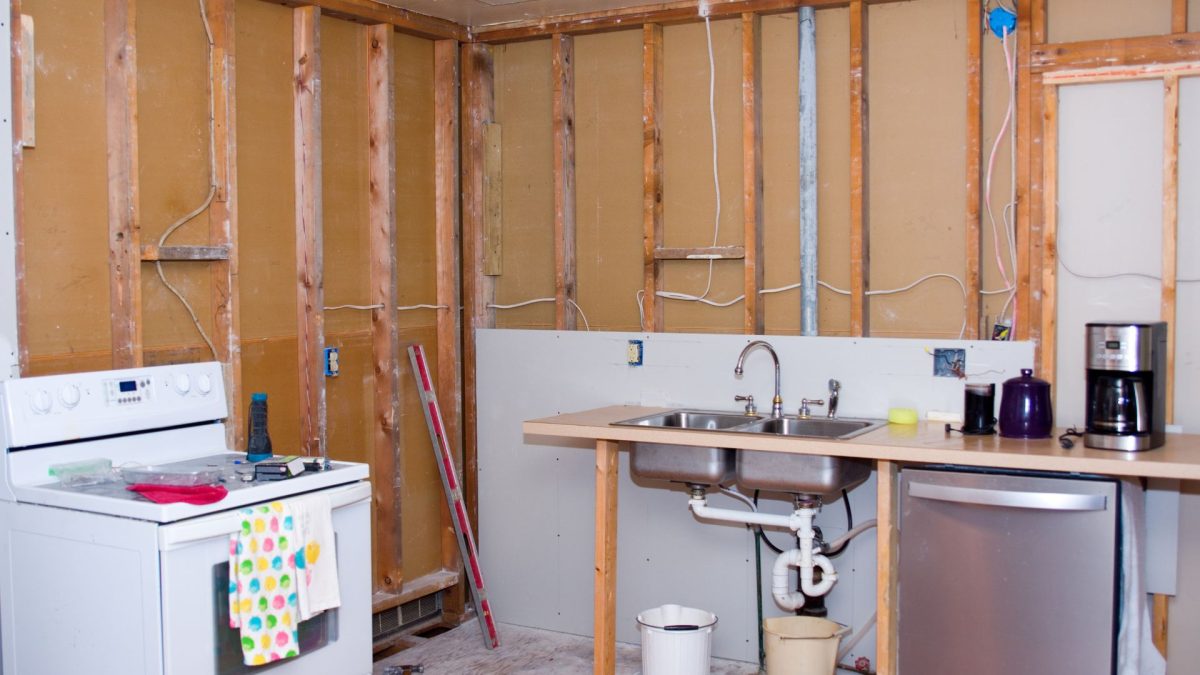
Kitchen demolition often involves careful handling of plumbing and electrical components to prevent accidents. Start by shutting off water and power to the kitchen, then disconnect faucets, sinks, and any in-wall plumbing that may interfere with the removal of cabinets or countertops. Electrical outlets, light fixtures, and appliances must also be disconnected according to local codes to avoid shocks or hazards. A methodical approach ensures these systems remain safe, and allows for easier installation of new fixtures once demolition is complete.
Working with plumbing and electrical systems may require specialized tools or professional assistance. Removing pipes, wiring, or fixtures improperly can lead to leaks, shorts, or costly repairs. Organizing and labeling disconnected components keeps everything in order, which can save time during the remodeling stage. By respecting the complexity of these systems, demolition becomes safer and more efficient, reducing stress and preventing potential setbacks while preparing your kitchen for the next stage of renovation.
Breaking Down Walls and Removing Drywall
Removing walls or sections of drywall can dramatically change a kitchen’s space and layout. Begin by identifying load-bearing walls and consulting a professional if necessary, as improper removal can compromise the structure of your home. For non-load-bearing walls, carefully cut through drywall with utility knives or saws, starting at edges and corners. Removing drywall in manageable sections reduces dust and prevents large debris from causing accidents. Using dust barriers or plastic sheeting keeps other parts of the house clean and limits the spread of particles.
Disposing of drywall requires careful handling because of its weight and potential for creating dust clouds. Large pieces should be cut down for easier transport, and protective gear such as masks and gloves helps prevent irritation from fine particles. Sorting drywall for recycling or proper disposal ensures you follow environmental guidelines and reduces clutter during demolition. Methodical wall removal sets the foundation for a safer, cleaner, and more organized kitchen renovation process, keeping efficiency and structure in mind.
Demolishing Old Backsplashes and Tiles
Backsplashes and wall tiles add aesthetic value to a kitchen but require careful demolition to avoid damage to underlying surfaces. Begin by scoring the grout lines with a utility knife or grout saw, then use a chisel or pry bar to lift tiles from the wall. Working slowly prevents cracks or damage to adjacent surfaces, making it easier to prep the walls for new finishes. Removing tiles one at a time, especially in fragile areas, ensures you retain control and minimize dust and debris.
Tile demolition also involves consideration of disposal and recycling. Ceramic or glass tiles may be recyclable, and separating them from other debris helps streamline cleanup. Protective measures, including goggles and gloves, are crucial to prevent injuries from sharp edges. By approaching backsplash demolition with patience and strategy, you can remove outdated tiles efficiently while preserving the integrity of your kitchen walls for future design plans.
Managing Dust and Debris During Demolition
Kitchen demolition inevitably creates dust and debris that can affect the rest of your home. Establishing a system for containment, such as plastic sheeting, tarps, or temporary barriers, helps prevent dust from spreading to other rooms. Using a vacuum with a HEPA filter during and after demolition reduces airborne particles and maintains air quality. Regularly removing debris in small loads keeps the workspace clear and prevents accidents caused by tripping over piles of materials.
Effective dust and debris management also protects your health. Wearing masks, gloves, and long sleeves limits exposure to potentially harmful materials, while carefully cleaning surfaces and floors ensures that your home remains safe and livable throughout the project. Setting aside a designated area for debris collection streamlines the demolition process, allowing for efficient disposal and preparation for the next stage of your kitchen renovation. By prioritizing cleanliness and safety, the project remains organized and controlled.
Salvaging Materials for Reuse or Recycling
During kitchen demolition, many materials can be salvaged, reused, or recycled to reduce waste and save money. Cabinets, fixtures, countertops, and hardware that remain in good condition can be donated or repurposed for other projects. Even broken tiles or wood scraps can sometimes be incorporated into creative DIY endeavors. Sorting materials as you remove them simplifies disposal, helps the environment, and may even provide resources for other remodeling efforts.
Salvaging materials requires careful handling to prevent further damage. Planning which items to save before demolition starts ensures that they are removed intact and ready for reuse. Recycling metal, plastic, and wood components reduces landfill contributions and can provide environmental benefits. By making sustainability a priority, kitchen demolition becomes not just a removal process, but a resourceful opportunity to repurpose valuable materials for future use, blending efficiency with eco-conscious practices.
Cleaning Up and Preparing the Space for Renovation
After the bulk of the demolition is complete, a thorough cleanup is essential to prepare your kitchen for the next stage. Sweep and vacuum debris, remove dust from walls and surfaces, and double-check for any leftover nails, screws, or hazardous materials. A clean, organized space ensures that your contractors or renovation team can work efficiently and reduces the risk of accidents during installation of new elements.
Final preparation also involves inspecting the area for any damage that may need repair before construction begins. Walls, floors, and ceilings should be assessed, and plumbing or electrical systems double-checked for safety. By investing time in cleanup and preparation, your kitchen is ready for transformation. The organized environment reduces stress, increases safety, and sets the stage for a smoother, more efficient remodeling process, making your renovation experience more enjoyable.
Conclusion
Kitchen demolition can feel overwhelming, but with careful planning, attention to safety, and a systematic approach, the process becomes much more manageable. Proper removal of cabinets, countertops, appliances, flooring, walls, and plumbing elements ensures a clean slate for your new kitchen. Incorporating dust control, debris management, and the opportunity to recycle or salvage materials makes the project not only efficient but also environmentally responsible. By approaching demolition thoughtfully, you set the stage for a seamless renovation that transforms your space into something functional and visually appealing.
For professional support with junk removal after demolition, 24-7 Junk Removal in Palatine, IL offers reliable and efficient services. Their team can handle all debris and materials, ensuring your home stays safe and clutter-free throughout the project. You can reach them at (773) 309-6966 or visit their office at 611 W. Wise Schaumburg, IL 60193. For inquiries, email support@24-7junk.com. Choosing professional assistance simplifies cleanup, allows you to focus on design, and guarantees that your kitchen demolition remains stress-free and well-managed.