
Before starting the flooring removal process, it’s crucial to prepare your space thoroughly. Clear out all furniture, décor, and other items that could obstruct your work area. Even small objects left behind can create safety hazards, so ensuring a completely open space makes the task smoother and faster. Protecting adjacent surfaces is equally important. Cover walls, cabinets, and baseboards with protective sheeting to prevent accidental scratches or damage during the removal process. This preparation phase may seem tedious, but it significantly reduces the risk of accidents and helps preserve the integrity of your home.
Understanding the type of flooring you’re removing is essential. Hardwood, laminate, vinyl, and tile each have unique characteristics and require specific tools and approaches. For example, tiles may necessitate careful chipping to avoid cracking surrounding pieces, while laminate or hardwood might require prying boards apart along seams. Identifying the flooring material ahead of time allows you to gather the appropriate tools, whether it’s a pry bar, hammer, scraper, or specialized flooring removal equipment. A well-prepared space paired with the right tools ensures efficiency and minimizes unnecessary damage.
Gathering the Right Tools and Equipment
Having the correct tools on hand is a cornerstone of effective flooring removal. Essential items typically include a pry bar, hammer, utility knife, scraper, gloves, and safety goggles. Depending on the flooring type, additional specialized tools such as a circular saw for hardwood or a floor scraper for vinyl may be necessary. Investing in the right equipment prevents unnecessary strain and allows you to work more efficiently, especially when tackling larger areas. Proper safety gear, including gloves and eye protection, is vital to prevent injuries from sharp edges, flying debris, or splintered materials.
Organization matters during this step as well. Arrange tools within easy reach, keep power cords clear of the work zone, and have trash bags or containers ready for debris. If the flooring has adhesive or glue, a heat gun or adhesive remover can significantly ease the separation process. While the right tools and equipment are essential, understanding how to use them correctly is equally critical. Misuse can result in damaged subfloors, prolonged labor, and personal injury. Preparing a toolkit tailored to your specific flooring type ensures a smoother removal process.
Removing Baseboards and Trim
Baseboards and trim often act as barriers to accessing the flooring beneath. Removing them carefully avoids damage and simplifies the removal of the main flooring material. Start by using a utility knife to score any caulking or paint along the edges of the trim. This prevents peeling or tearing when prying the pieces away. Next, gently insert a pry bar between the wall and the baseboard, applying slow, even pressure to loosen it from the wall. A small block of wood can be used behind the pry bar to protect the wall surface during leverage.
Once loosened, remove nails using pliers or a nail puller. If you plan to reuse the baseboards, label and store them safely. This careful process preserves your materials while creating a clear boundary between the wall and flooring. Skipping this step or rushing it can result in unnecessary damage to walls, trim, or flooring edges. Taking the time to remove baseboards properly ensures that subsequent flooring removal is more straightforward, leaving your home ready for renovation or installation of new floors.
Tackling Hardwood Flooring
Hardwood flooring removal requires precision and patience. Start by locating a seam or edge to lift the boards. Use a pry bar or crowbar to gently loosen the first few planks. Often, removing the initial board is the hardest, but once you establish leverage, the remaining planks typically come away more easily. Be mindful of nails and staples, which can pose a safety hazard. Keeping a container nearby to collect these small items prevents accidents and keeps the workspace organized.
Work methodically across the floor, avoiding forceful prying that could damage the subfloor. Hardwood planks can often be reused if removed carefully, so treat each board with care. In cases where boards are glued down, a heat gun or adhesive remover may be necessary to soften the glue before lifting. Taking a structured approach ensures both safety and efficiency, reducing the risk of splintering, cracking, or subfloor damage while making the removal process more manageable.
Removing Laminate Flooring
Laminate flooring can often be removed more quickly than hardwood, but it still requires careful technique. Begin by removing any transition strips or moldings that secure the edges. Since laminate boards are typically designed to interlock, once a starting board is removed, the rest often comes apart in a sequence. Use a pry bar to gently lift the boards, working systematically from one side of the room to the other. Avoid forcing pieces apart, as this can damage the locking mechanisms, making them unusable for reuse.
Underneath laminate flooring, you may encounter underlayment that needs to be removed as well. This thin foam or paper layer is often stapled or glued down, so carefully peeling or scraping it away prevents tearing and debris buildup. Proper removal of both laminate and underlayment ensures a clean subfloor ready for new installation. Maintaining a patient and organized approach reduces frustration and allows you to complete the removal efficiently without creating unnecessary mess or damage.
Dealing with Vinyl and Linoleum
Vinyl and linoleum floors present unique challenges, particularly when adhesive has been used to secure them. Start by scoring the surface with a utility knife to divide it into manageable sections. This makes lifting and peeling easier, especially for larger sheets. Use a scraper or floor removal tool to gradually lift the flooring from the subfloor. For stubborn adhesive, a heat gun can help soften it, making removal less labor-intensive and reducing the risk of damage to the subfloor beneath.
Work in small sections and remove debris as you go to maintain a clean and safe workspace. Vinyl flooring can often be recycled, so separate it from other materials if disposal requires sorting. Take care to remove all glue residues to ensure a smooth and even subfloor for the next flooring installation. Following a systematic and patient approach makes even stubborn flooring manageable and reduces frustration, while maintaining the quality of your subfloor for future renovation projects.
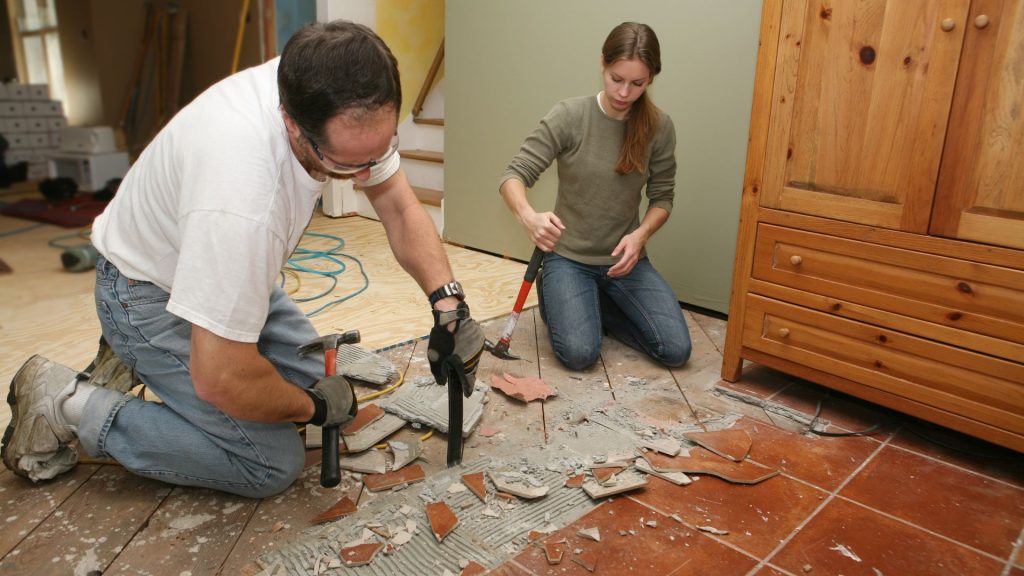
Tackling Tile Flooring
Tile flooring requires a combination of force and finesse. Start by removing any grout surrounding the tiles using a grout saw or rotary tool. This reduces resistance and prevents neighboring tiles from cracking during removal. Once the grout is removed, use a chisel and hammer to lift each tile individually. Begin at an edge or broken tile to gain leverage, then work your way across the floor. This methodical approach minimizes damage to the subfloor and makes clean removal more achievable.
Safety is paramount when working with tile, as shards can be sharp and heavy. Wear gloves and safety goggles to prevent injury. Dispose of tile fragments in sturdy containers to prevent accidents in the work area. Patience during this process ensures that the subfloor remains intact, and it allows for potential tile reuse if desired. Though time-consuming, careful tile removal ensures a smoother transition to the next stage of renovation, keeping your space ready for new flooring installation.
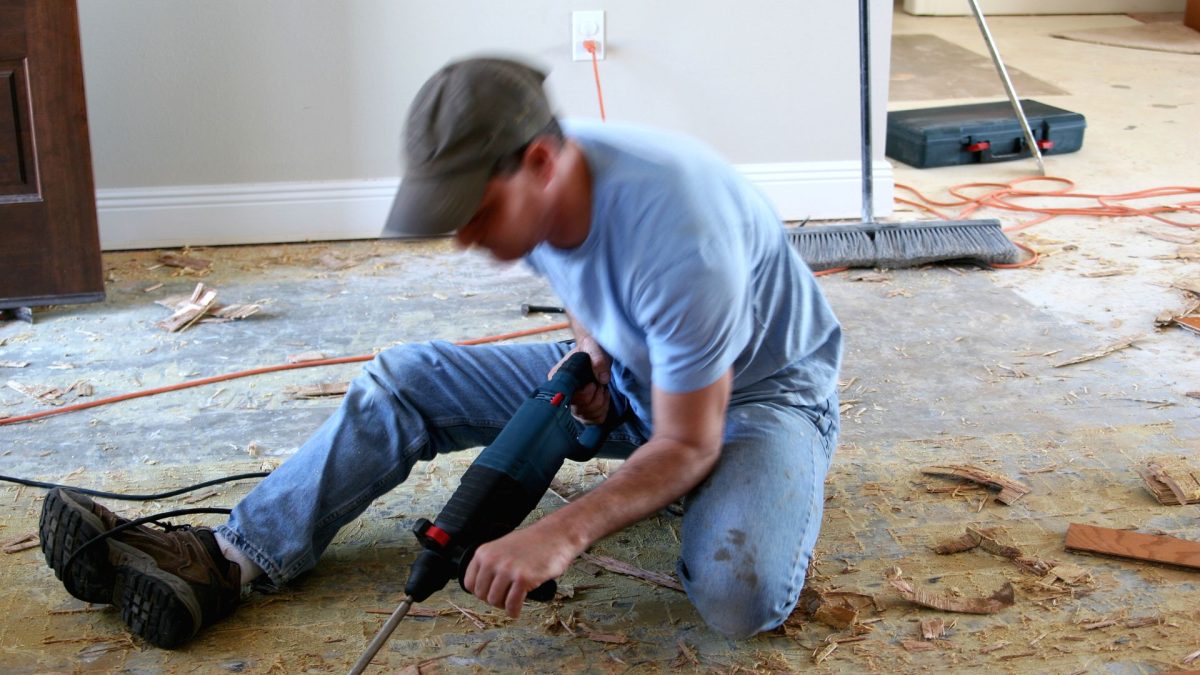
Cleaning and Preparing the Subfloor
After removing the old flooring, the subfloor must be cleaned and prepared for new installation. Remove all nails, staples, adhesive, and debris to create a smooth, safe surface. Sweep thoroughly and inspect for damage such as cracks, holes, or uneven areas that require repair. Any imperfections in the subfloor can compromise the longevity and stability of new flooring, making thorough preparation essential.
Depending on the type of subfloor, additional steps may include sanding, patching, or applying a primer or sealant. A clean, level, and properly prepared subfloor provides the foundation for successful flooring installation, ensuring the new surface looks flawless and performs well. Skipping this step can lead to uneven floors, squeaks, or premature wear, making attention to detail during subfloor preparation a critical part of the renovation process.
Disposal and Recycling of Old Flooring
Proper disposal of removed flooring is an essential part of the process. Many materials, including hardwood, laminate, vinyl, and tiles, can be recycled or repurposed. Separating materials based on their type makes it easier to comply with local disposal regulations and contributes to environmental sustainability. If hiring a professional service, ensure they offer responsible disposal or recycling options.
Organize debris into manageable loads, and remove them from your home safely to prevent injury. Recycling or donating usable materials not only helps the environment but may also benefit others who can reuse these resources. Taking the time to manage old flooring responsibly reduces clutter, minimizes environmental impact, and provides a sense of satisfaction knowing your renovation project aligns with sustainable practices.
Safety Tips During Flooring Removal
Safety should always be a top priority during flooring removal. Wear gloves, goggles, and appropriate footwear to protect yourself from sharp edges, splinters, and falling debris. Ensure the workspace is well-lit and ventilated, particularly when working with adhesives, dust, or chemical removers. Avoid rushing, as haste often leads to accidents or damage to materials.
Maintain proper posture when lifting heavy materials, and use tools correctly to prevent strain or injury. Take breaks as needed, and keep first aid supplies nearby. Awareness of potential hazards and careful adherence to safety measures make the process safer and more efficient. Prioritizing safety protects both you and the home, allowing the flooring removal project to proceed smoothly without unnecessary accidents or setbacks.
Conclusion
Flooring removal is a complex yet manageable part of any home renovation project. It involves careful preparation, the right tools, patience, and attention to safety throughout the process. Each type of flooring, from hardwood to vinyl, demands a specific approach, and following structured steps ensures minimal damage and maximum efficiency. A clean and well-prepared subfloor sets the stage for a successful installation of new flooring, enhancing both aesthetics and functionality in your home. Proper disposal or recycling of old materials not only keeps the workspace organized but also contributes to sustainable practices, aligning with modern renovation goals.
For those in Palatine, IL seeking professional assistance, 24-7 Junk Removal offers comprehensive junk removal services including flooring debris disposal. Their experienced team ensures safe and efficient removal, helping homeowners manage the mess and reclaim their space effortlessly. Contact 24-7 Junk Removal at (773) 309-6966 or visit their location at 611 W. Wise Schaumburg, IL 60193 for reliable, eco-conscious service. With their support, flooring removal becomes less stressful, allowing homeowners to focus on creating beautiful, functional spaces.